Horsehair Bow Tutorial Supplies List
|
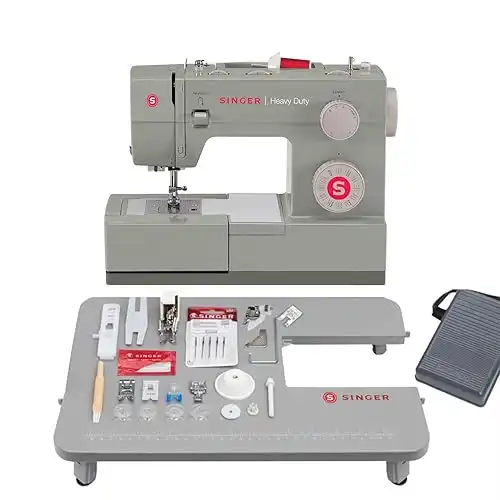
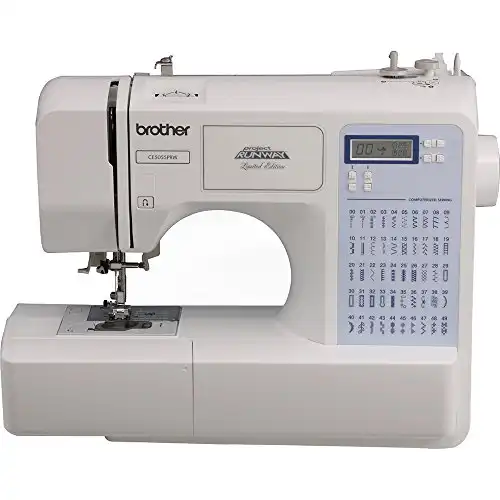
Recommended
|
|
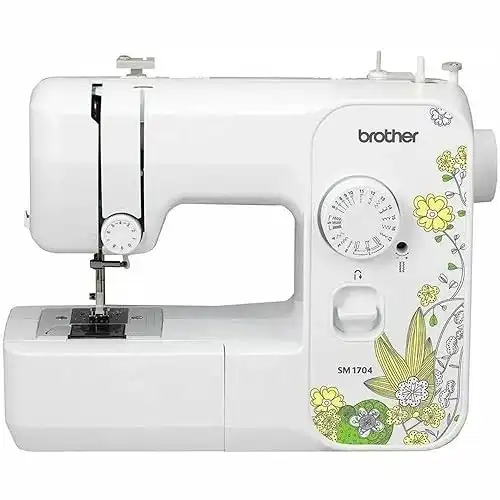
Budget Machine
|
|
$314.36
|
$234.99
|
$106.99
|
Recommended
Budget Machine

|

|

|

|
|
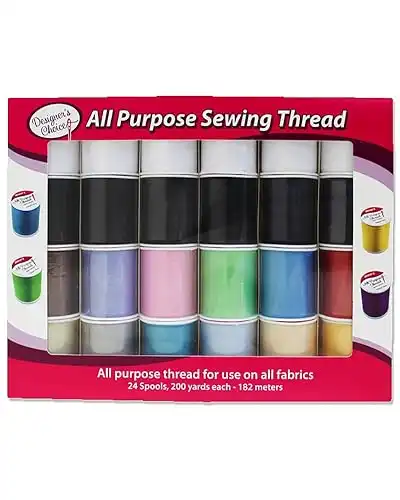
$15.99
|
$9.99
|
$12.99
|
$10.99
|

|

|
|
$7.49
|
$6.99
|
|
|
|
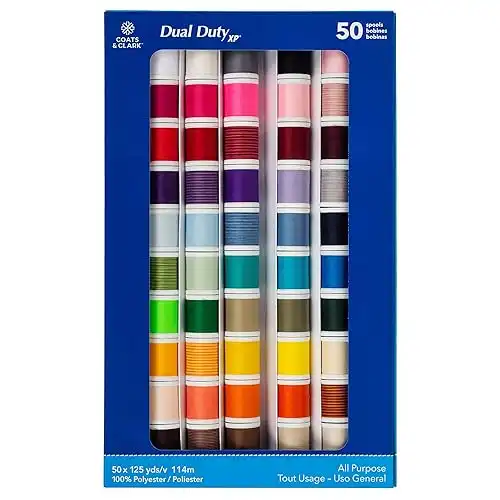
$61.72
|
$17.95
|

We earn a commission if you make a purchase, at no additional cost to you.
06/14/2026 11:05 am GMT

We earn a commission if you make a purchase, at no additional cost to you.
06/14/2026 10:02 am GMT
|
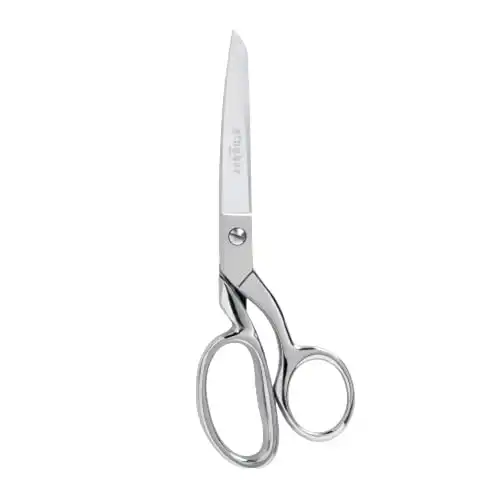
Heavy Duty
|
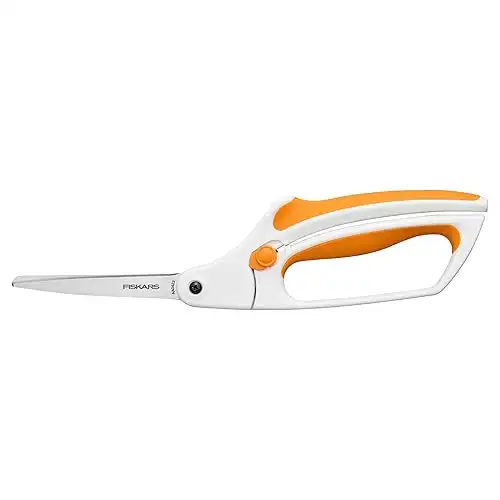
Great for Dexterity Issues
|
|
$34.94
|
$21.78
|
Heavy Duty
Great for Dexterity Issues

We earn a commission if you make a purchase, at no additional cost to you.
06/14/2026 02:02 pm GMT

We earn a commission if you make a purchase, at no additional cost to you.
06/14/2026 02:03 pm GMT

We earn a commission if you make a purchase, at no additional cost to you.
06/14/2026 03:04 pm GMT
|
|
|
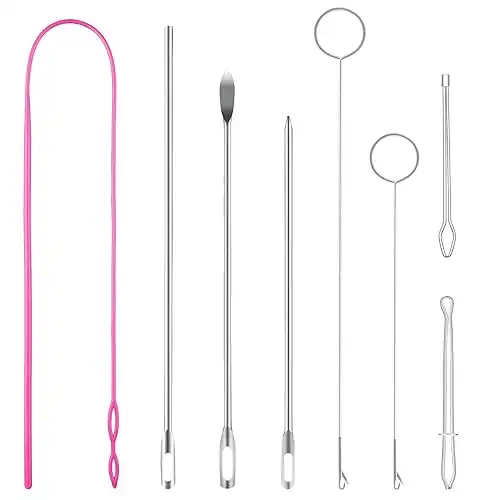
$4.99
|
$6.64
|

We earn a commission if you make a purchase, at no additional cost to you.
06/14/2026 03:05 pm GMT